
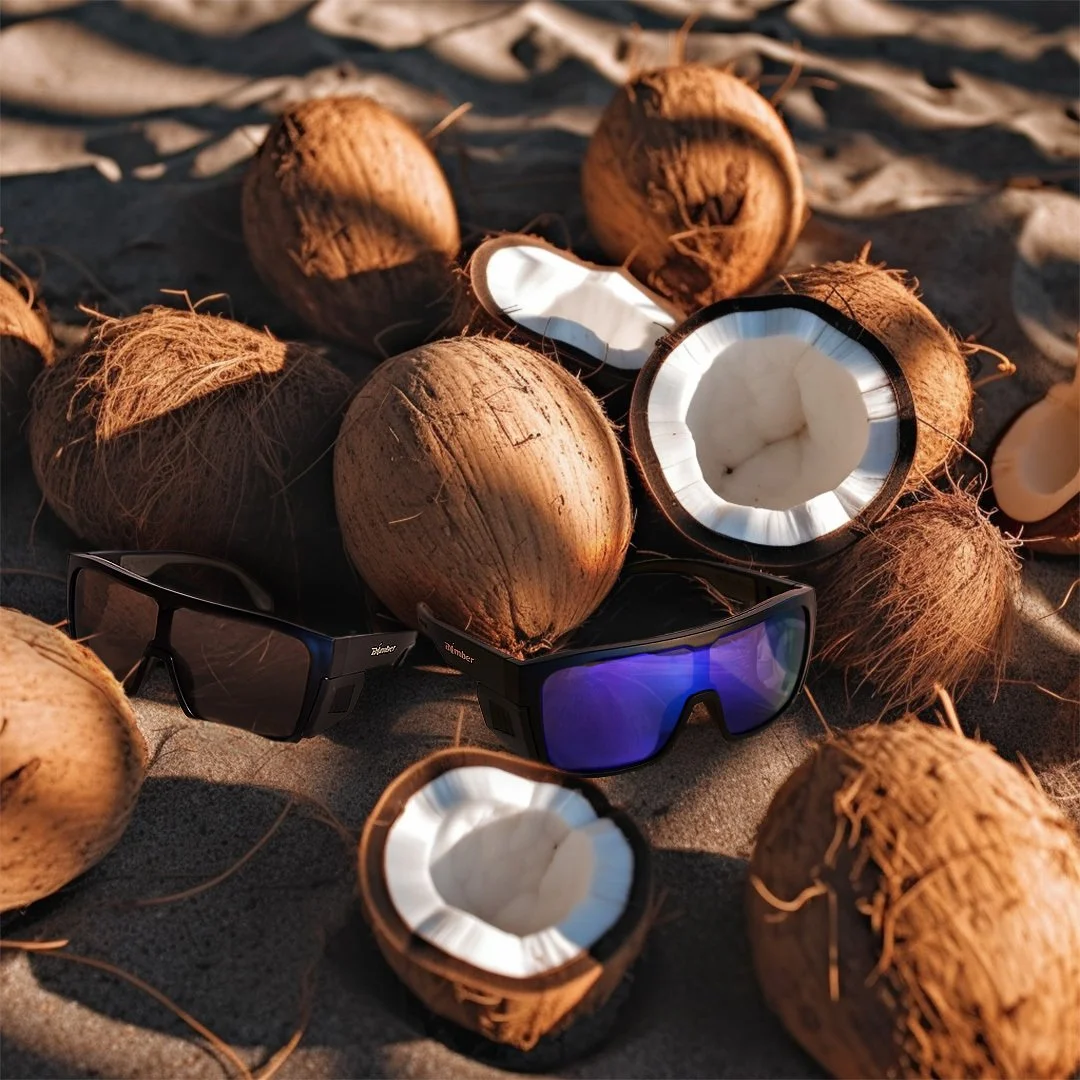
At Sum Digital, our in-house creative team leverages cutting-edge technology in order to produce the highest-quality content for our clients. This includes the burgeoning field of artificial intelligence (AI). Using Midjourney—a generative AI program, we're able to craft stellar Meta platform ads by merging product photography with AI-generated backgrounds.

An example of an AI generated background combined with in-house product photography.
When evaluating a client's ad creative, we identified the top-performing product shots. Notably, product shots featuring tropical backgrounds yielded the best results for one of our largest clients. To iterate on this concept, we followed three steps that make up our creative generation process.
1. Generate Your Background in Midjourney
Upon receiving the products, our team examined them and used Midjourney to create a tropical AI background. Designing the AI background before capturing product images in the studio ensures optimal lighting synchronization. Crafting the background image in Midjourney involves selecting keywords, considering factors like time of day, textures, camera lenses, angles, and other essential aspects. Midjourney even allows users to insert example images for inspiration, extending this capability to product images downloaded from the client's product page. During this process, it's important to understand how to adjust your input in order to achieve the required output.
A step-by-step tutorial on how we got our AI generated background from Midjourney.
2. Product Photography Using Capture One
Once satisfied with the background image, the next step is bringing the product into the studio. To accurately position the product to match the Midjourney image, our team uses Capture One. Capture One is a photography software suite that permits us to import images as overlays and tether the studio image to the Midjourney background. This allows us to make real-time adjustments of the product's position to match the Midjourney image. The final in-studio step involves fine-tuning the lighting to also complement the Midjourney image.

How we used Capture One to line up our shot in-studio.
3. Combine in Photoshop
After creating the background image in Midjourney and photographing the product in the studio, the next phase involves masking the two photos in Adobe Photoshop. This editing process marks the end of combining the client's product shot with the AI generated background to best fit their creative needs. Implementing Midjourney into our creative process has proven to be a success, not only producing high-quality ad images but also giving us a powerful tool to overcome the limitations of real-life photography.
Before and after combining the AI image and product photography.